Scheduling an Appointment
Scheduling an appointment is fairly straight forward, but has a few caveats that aren’t immediately obvious.
IMPORTANT: There is currently a known bug where both receipient and host are put into a waiting room for a meeting making it impossible to proceed with a scheduled meeting.
IMPORTANT: There is currently a known issue where the organiser does not receive the meeting link, and therefore cannot join a scheduled meeting.
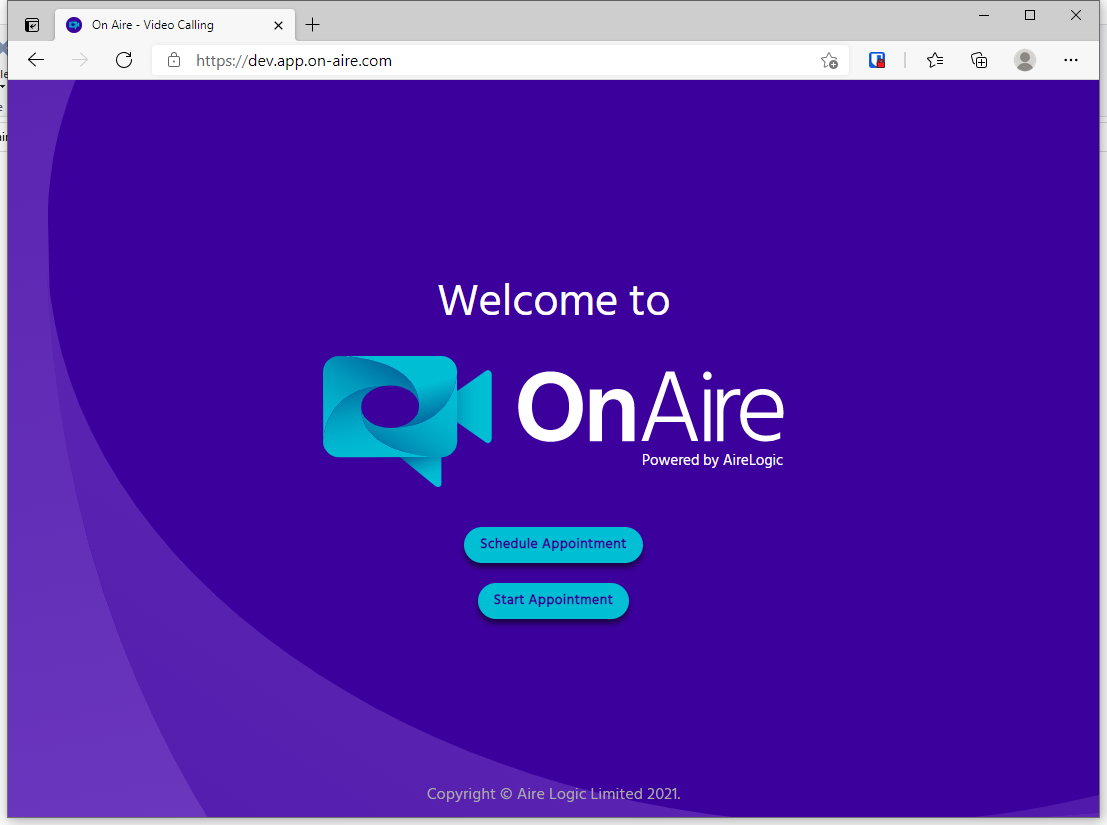 After logging in, you should select the option to Schedule an Appointment.
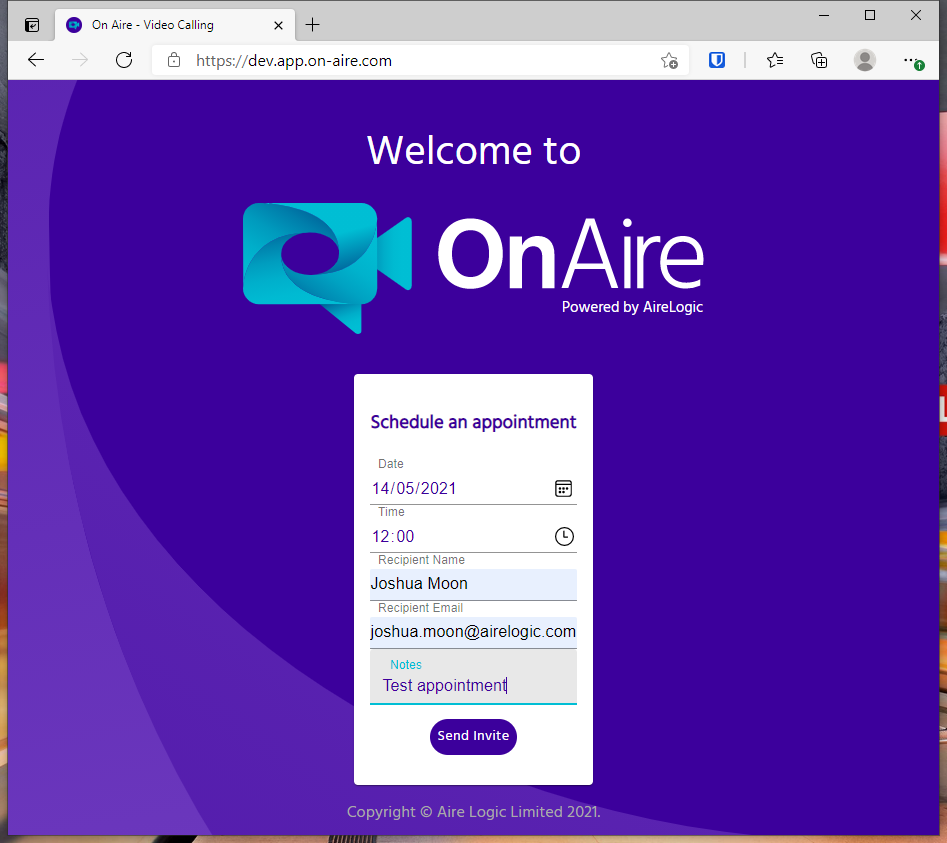 From here, input the date and time of the appointment, name, and email address of the appointee. Hit Send Invite once you’re ready.
- IMPORTANT: The date and time should be entered as UTC. This is the same as British Winter Time. If your appointment is in during summer time, or any other timezone, this time should be altered accordingly. For example, a noon appointment in summer should be entered as
11:00and not12:00 - The additional notes field is not currently used.
 It may take a minute or two before the screen updates to confirm success. At this time there is no loading screen, so please be patient.
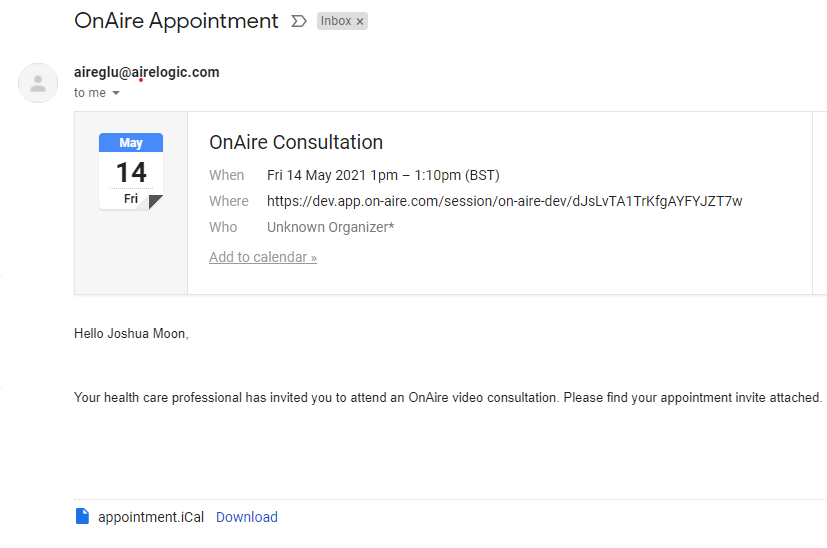 The appointee will receive an email with a calendar invite attached, with details of the appointment.
 Your recipient will be entered into a waiting room until you allow them access to the meeting.